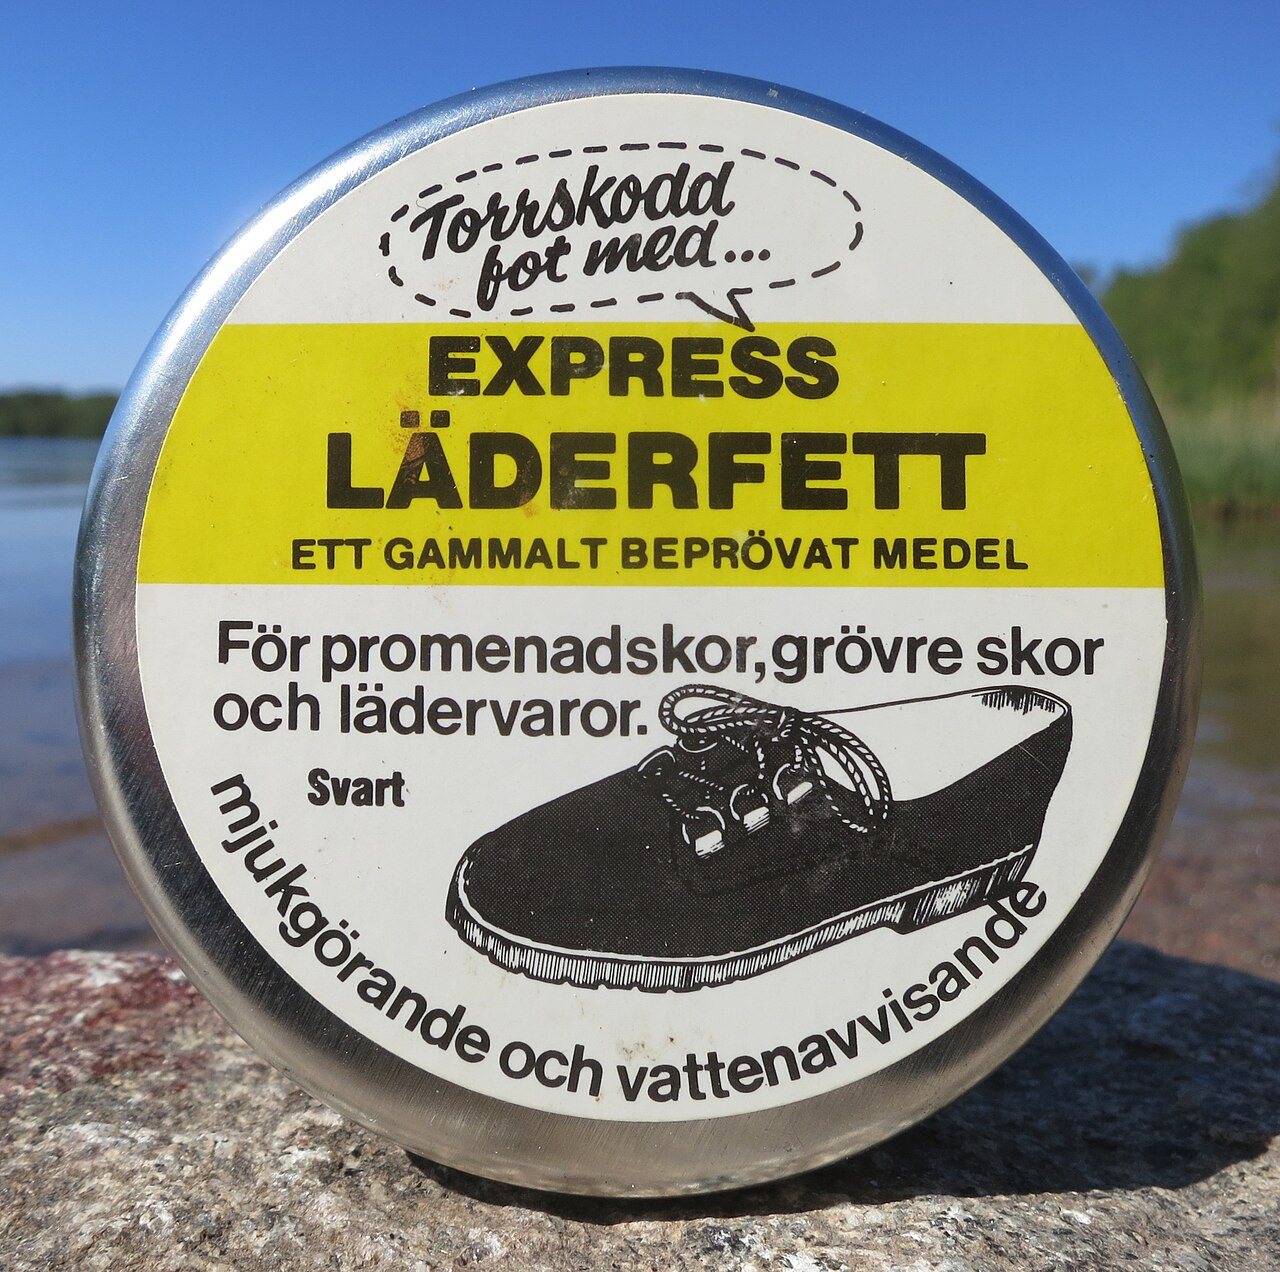
Photo: R. Henrik Nilsson, CC BY 4.0, via Wikimedia Commons
It happens every year. Somebody buys a good pair of leather boots in September, wears them through the first proper rainstorm in October, props them against a radiator to dry, and by December the toes are cracked and the sides are wearing a white tidemark of road salt.
Leather is skin, and it behaves a lot like it. It dries out, it stains, and it does not like sudden heat. The good news is that keeping shoes in shape through a wet winter is cheap and takes about fifteen minutes per pair, once, plus a little attention after bad days.
The catch is that the shelf at the shoe repair shop is full of products that sound alike and do quite different jobs. Here is what each one is for, and the order to use them in.
Start with clean, dry leather
Nothing you put on leather works well over dirt. Grit gets ground into the surface, and old polish builds up in a dull, cloudy layer.
Brush off dried mud with a stiff brush, paying attention to the welt, the seam where the upper meets the sole, where dirt and salt collect. Then wipe the shoes with a cloth dampened in plain water, or use a dedicated leather cleaner if they are very grubby. Let them dry completely at room temperature before going any further. Pull the laces out while you are at it, since it makes everything easier and lets you clean the tongue properly.
Conditioner, polish, wax and grease are not the same thing
This is where most people go wrong, so it is worth slowing down.
A leather conditioner or cream feeds the leather. It puts back oils and moisture so the material stays flexible and is less likely to crack at the flex points across the toe. Cream polishes do some of this too and add color, which is handy for covering scuffs.
Wax polish, the hard stuff in a flat tin, mostly sits on the surface. It gives you a shine and a thin protective layer that helps water bead up, but it does little to nourish the leather underneath. For dress shoes, a conditioner or cream followed by a light coat of wax is the classic routine.
Leather grease and heavier dubbin-style products, like the tin pictured at the top of this page, are a different animal. They are made for walking boots, work boots and rugged leather, and they soak in to make the leather soft and water resistant. They also tend to darken leather and leave it with a matte finish, which is fine on a hiking boot and a shame on a smart pair of brogues. Check the label before you use one on anything you care about looking polished.
Add a water and salt barrier
For extra protection, a waterproofing spray made for smooth leather adds another layer. Apply it to clean, dry shoes, hold the can at the distance printed on it, and let them dry fully before you wear them, often overnight.
Spray first or polish first? Manufacturers differ, so follow the instructions on whatever you buy. The broad rule is that a spray goes on bare or conditioned leather, and wax goes on top if you want shine.
Safety note: waterproofing sprays are aerosols, often flammable and not something to breathe in. Use them outdoors or in a well-ventilated room, away from flames and heaters, and keep them away from children and pets.
Suede and nubuck need a different routine
Everything above is for smooth leather. Suede and nubuck have a brushed, open surface, and creams, wax and grease will flatten and stain them.
Use a suede brush to lift the nap and a suede eraser for small marks, then a spray made for suede and nubuck. If the shoes get soaked, stuff them with paper and let them dry slowly, then brush the nap back up once they are dry.
Removing salt stains
Those white rings on winter shoes are salt from treated roads and sidewalks, pulled into the leather with the water. Left alone, they can dry the leather out.
The most common home fix is a mix of white vinegar and water, usually suggested at roughly equal parts. Dab it onto the stain with a soft cloth, wipe with a cloth dampened in plain water, and let the shoes dry naturally. Test it first on a hidden spot, such as the inside of the heel, because some dyed leathers react badly. Follow up with conditioner once the leather is dry, since both salt and vinegar strip moisture. There are also commercial salt-stain removers if you would rather not experiment. (If your town salts its roads heavily, I would make this a weekly job, not a monthly one.)
Drying wet shoes the right way
This is the step that decides whether a pair lasts. Never dry leather on a radiator, in front of a heater or with a hair dryer. Fast heat pulls out the oils and makes leather stiff, shrunken and prone to cracking, and the damage does not really reverse.
Instead, loosen the laces, stuff the shoes with newspaper or paper towels and replace it when it gets soggy, and leave them somewhere at normal room temperature. Unvarnished wooden shoe trees, especially cedar ones, help the shoes keep their shape and draw moisture out as they dry. Give them a full day if you can, which is one good reason to rotate between two pairs through the winter.
A quick routine to keep up
Once the shoes are prepped, the maintenance is small. Wipe off salt and mud the same day. Dry slowly. Condition every few weeks during the wet months, or whenever the leather starts to look pale and thirsty. Top up the waterproofing spray when you notice water soaking in instead of beading up.
It is not glamorous, but a well-kept pair of leather boots can last for years, and the gear to look after them costs less than a single replacement pair.